

 Image 1 of 2
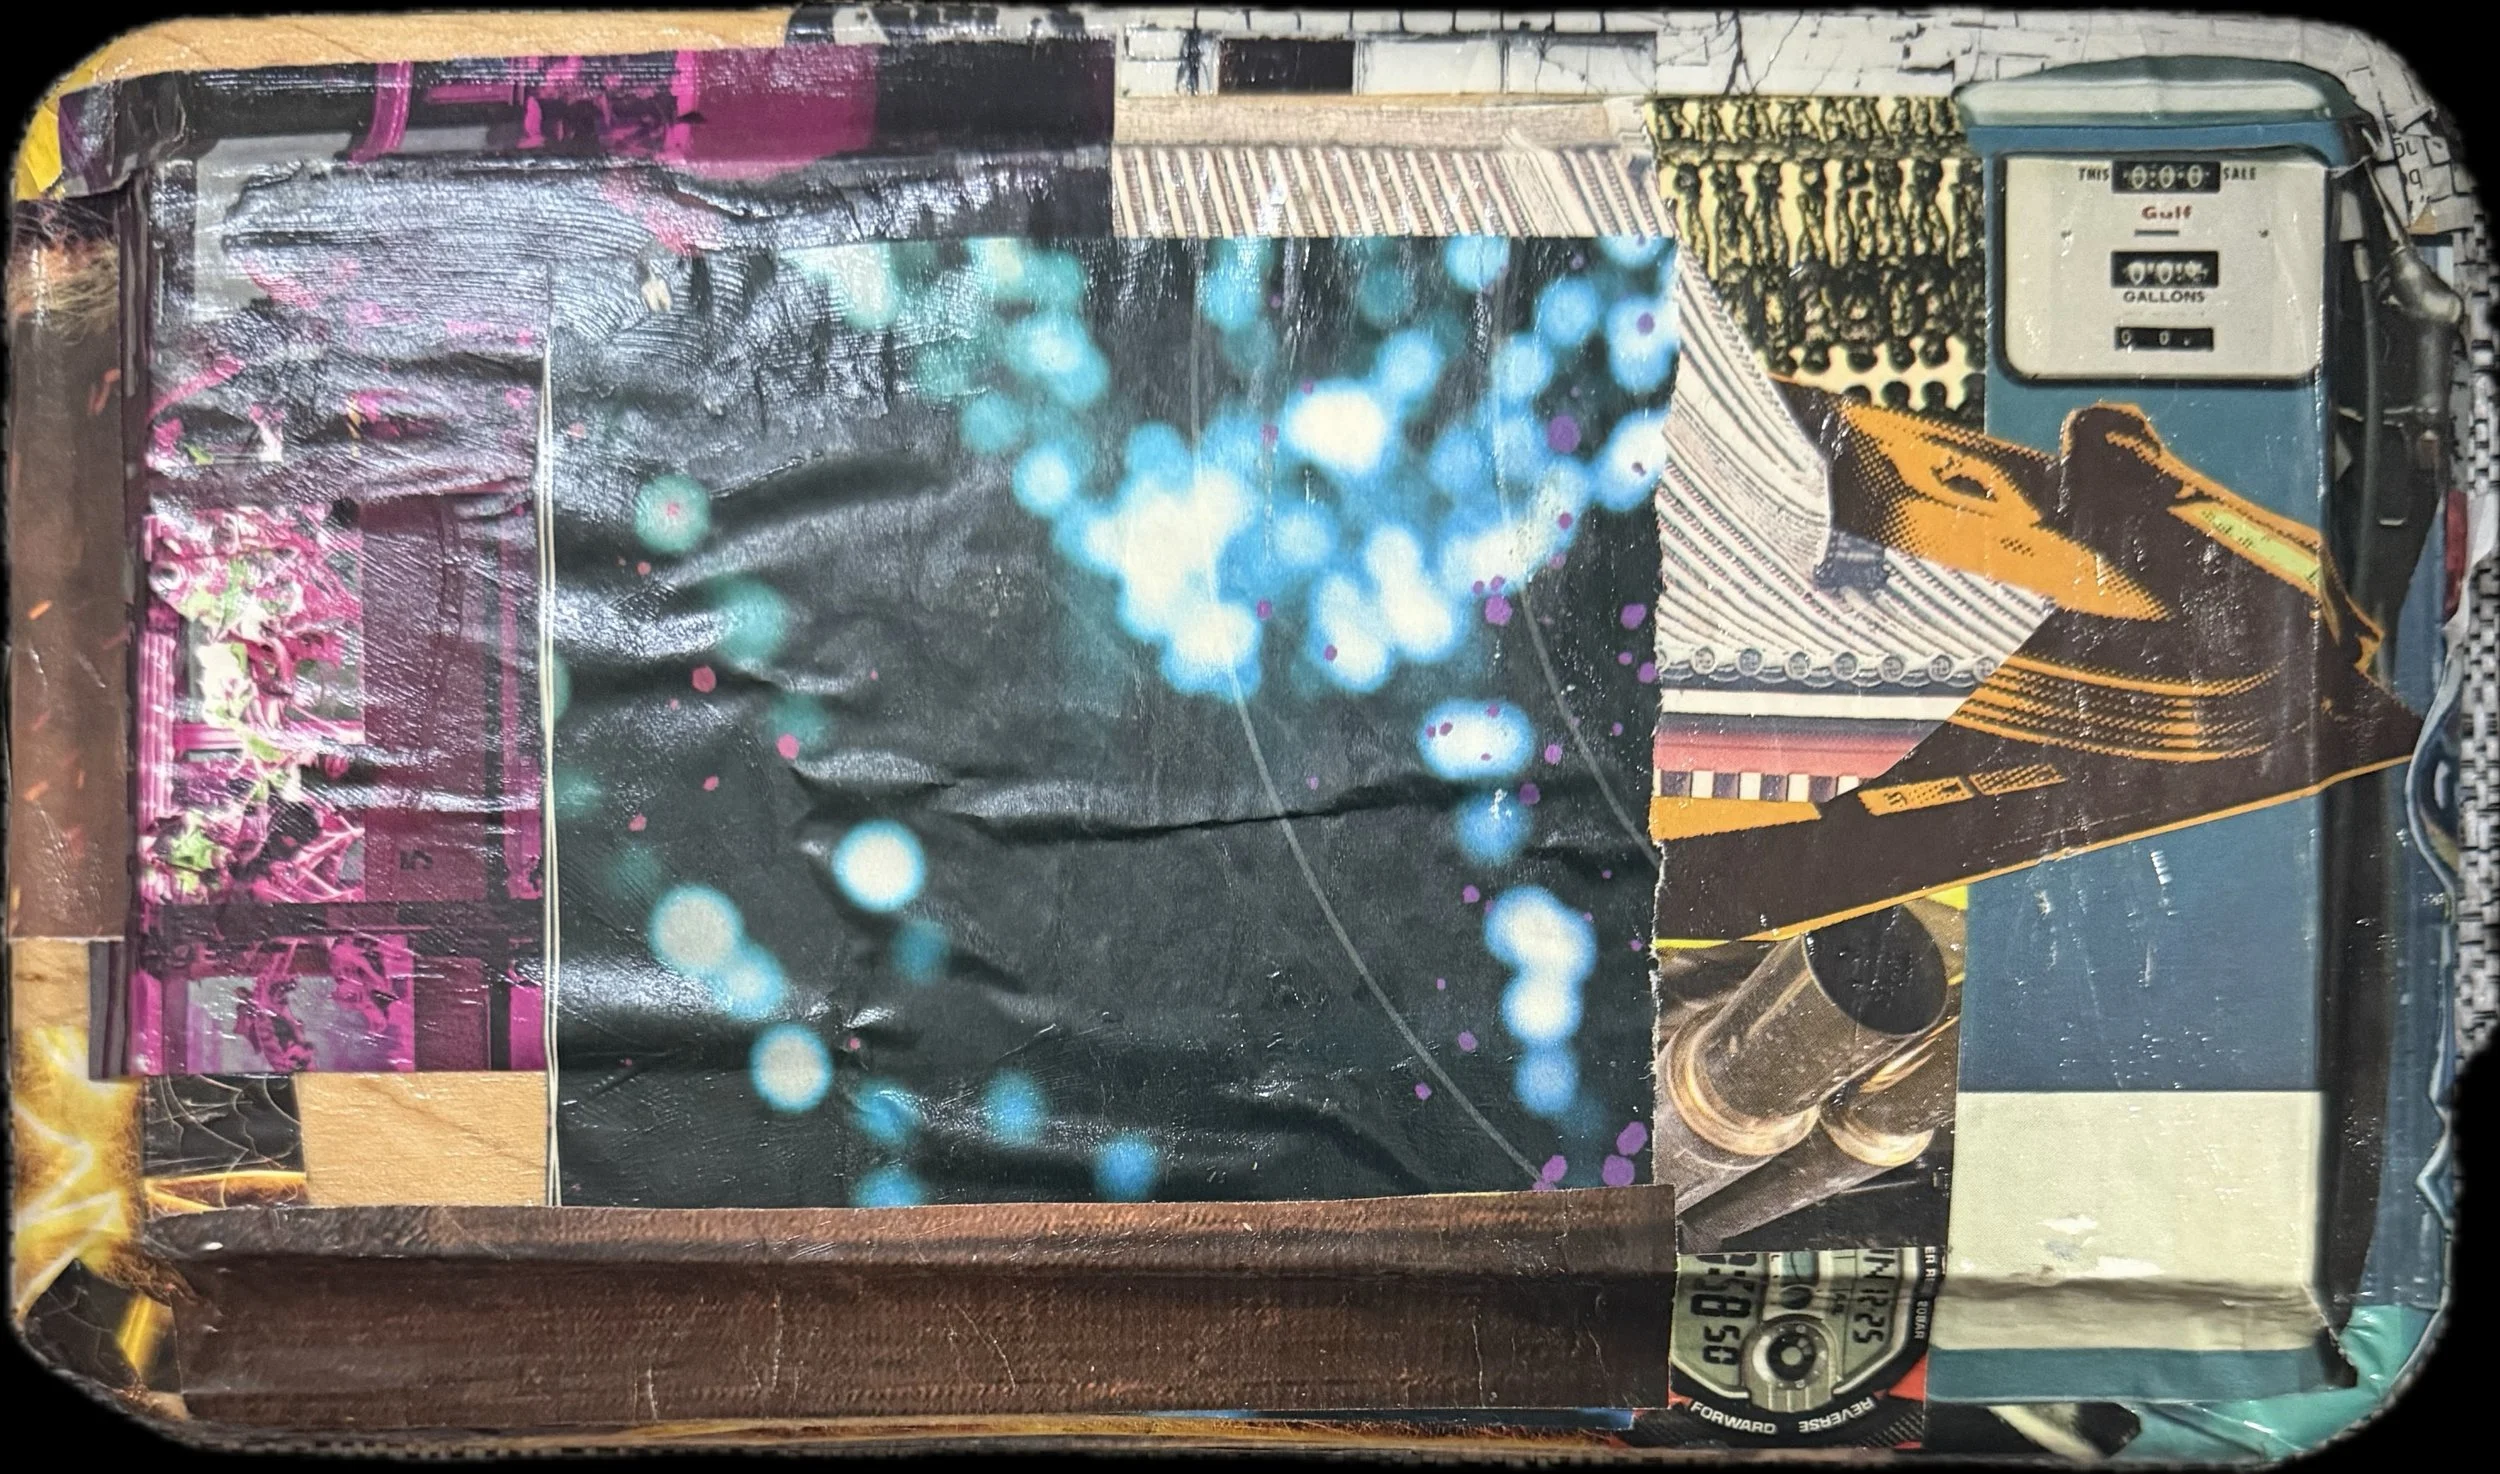 Image 2 of 2
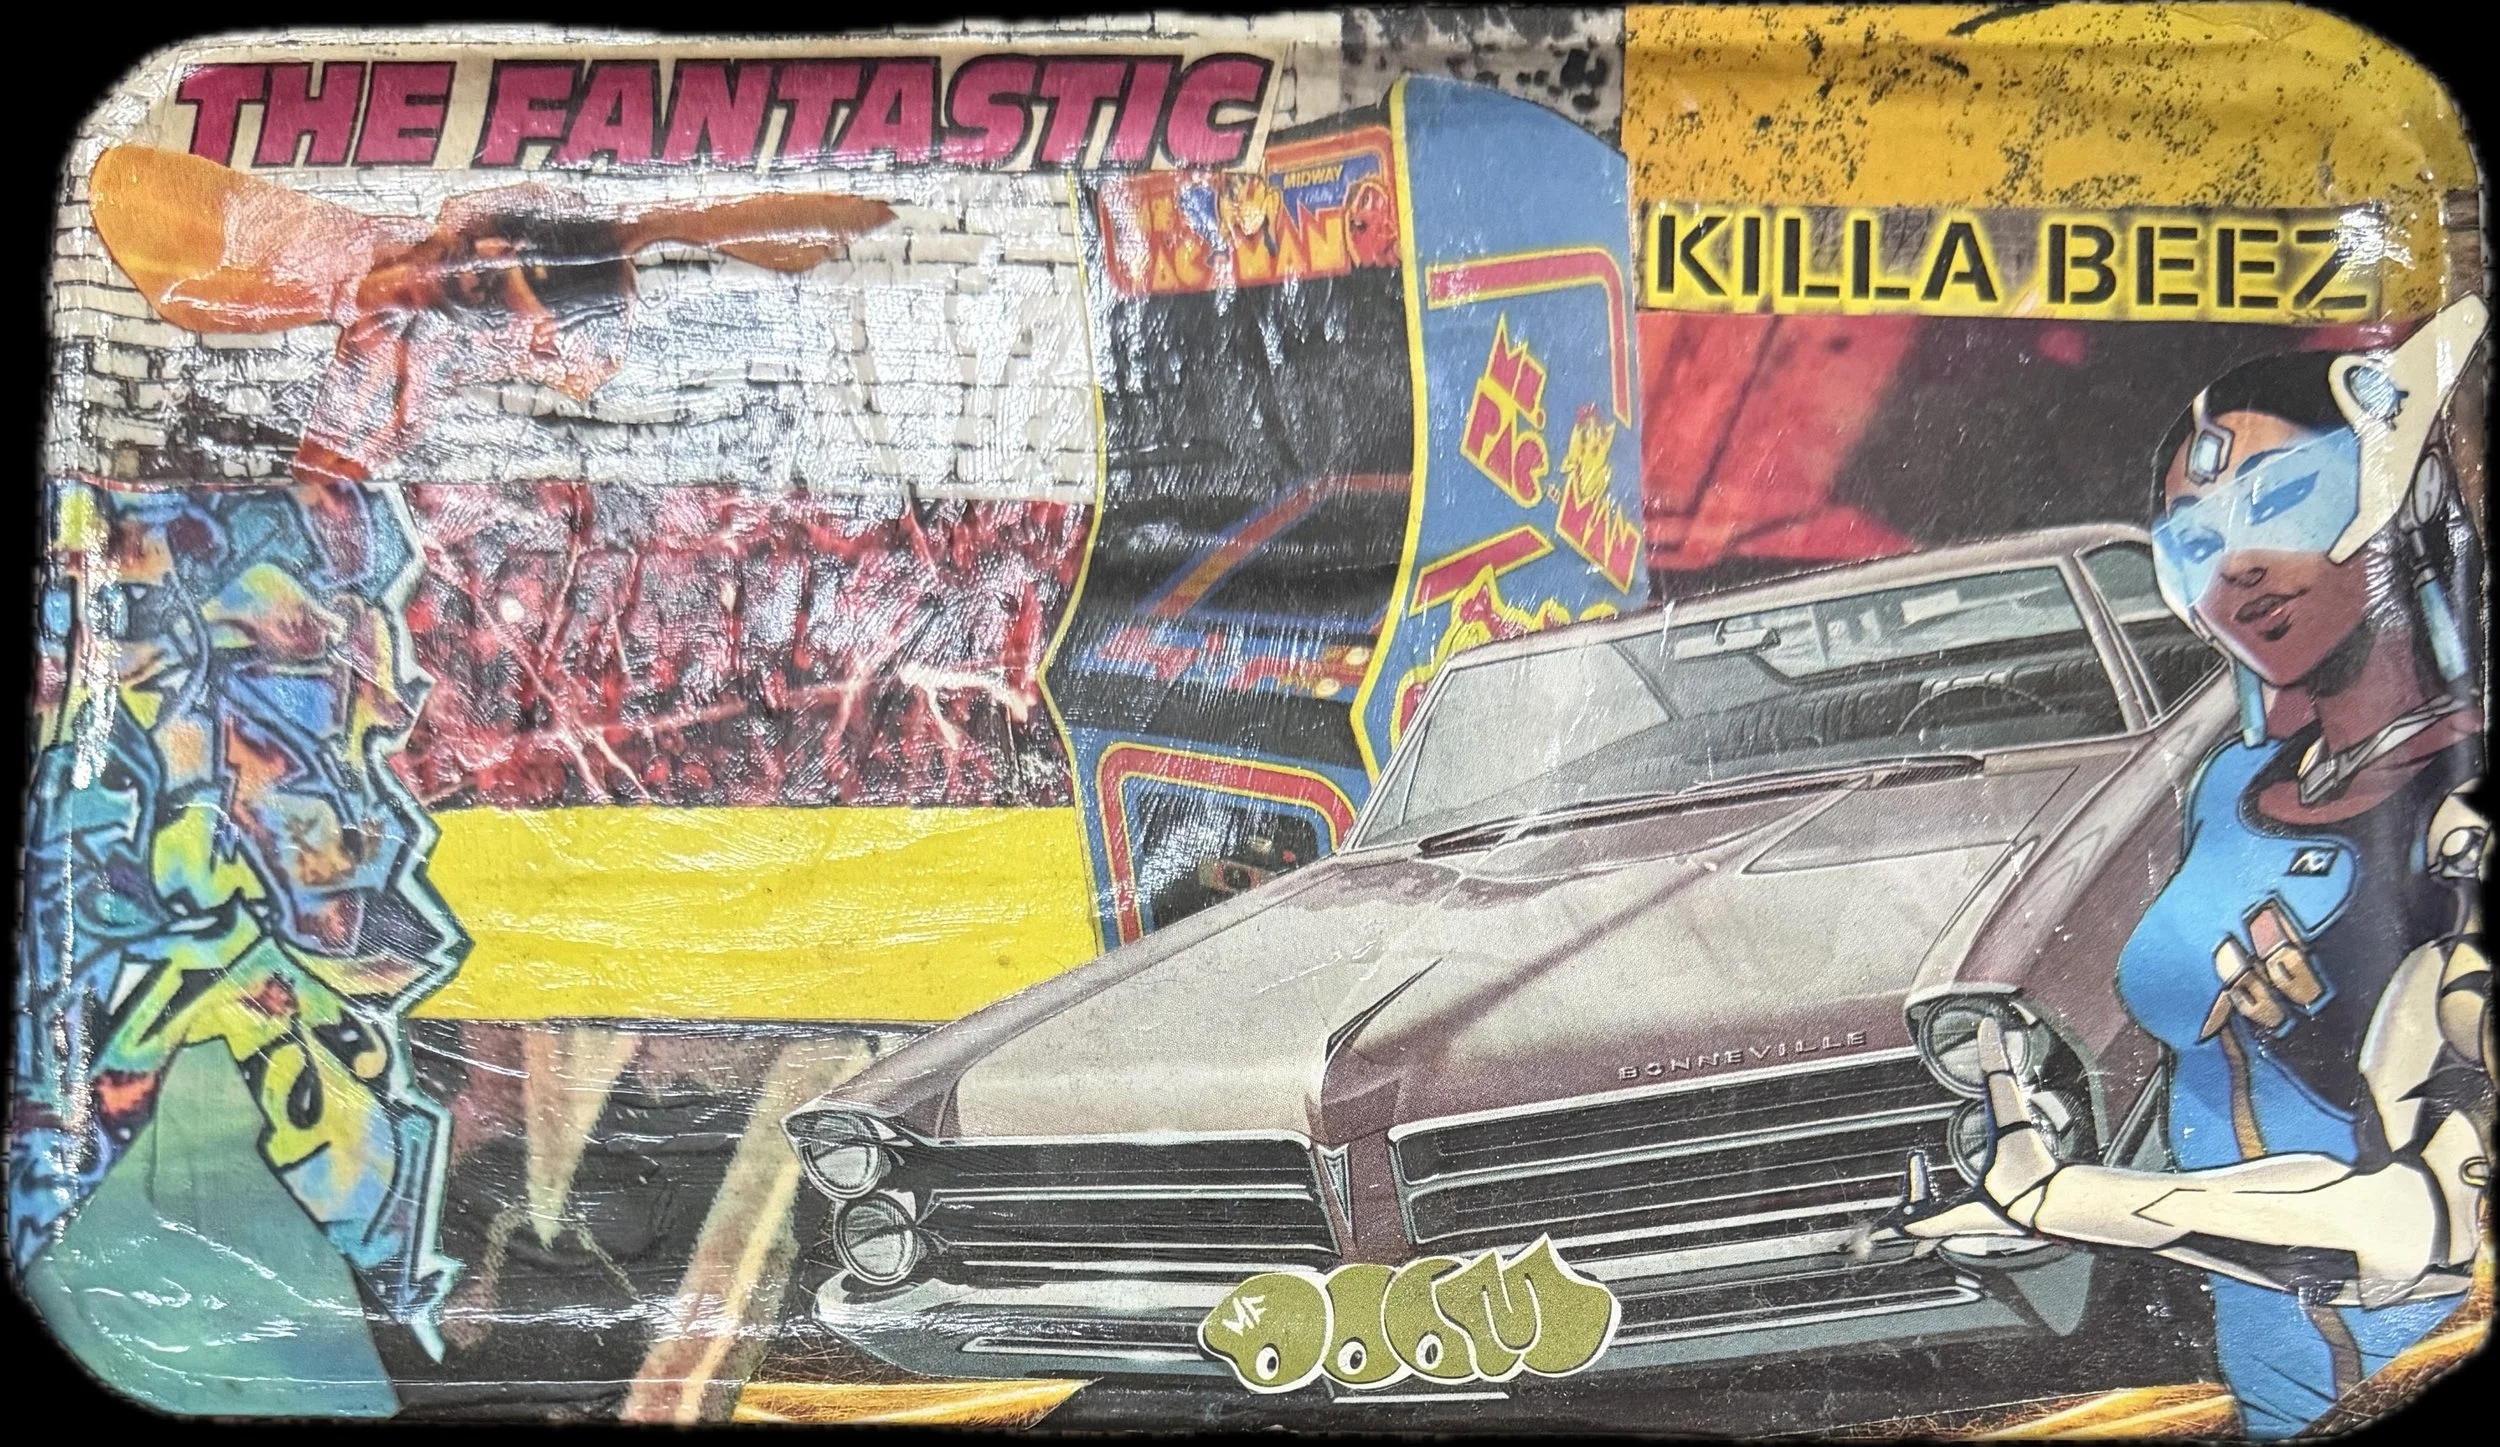
The Fantastic
Weed tray collage
Concept Create a layered, tactile collage on a shallow wooden or metal tray using dried botanical materials, found ephemera, textured papers, and small three-dimensional objects. The piece reads like a micro-landscape — intimate, contemplative, slightly unruly — and can function as wall art, a tabletop vignette, or a reference piece for further work.
Materials
Shallow tray (wood, metal, or deep picture frame without glass), 12"–18" square or round recommended
PVA glue or gel medium
Clear matte varnish or resin (optional for sealing)
Heavyweight paper, book pages, sheet music, vintage ephemera
Tissue, rice paper, handmade paper scraps
Dried plant material: leaves, seed pods, pressed flowers, grasses
Small objects: metal findings, beads, buttons, tiny frames, keys
Acrylic paints, ink, or watercolor for washes
Texture additives: gesso, modeling paste, sand
Tools: scissors, palette knife, brushes, tweezers, craft clamp or weights
Palette and Mood Choose 1–3 dominant colors and 1–2 accent colors. For a “weed” theme, consider earthy greens, ochres, muted browns, and mossy grays with a contrasting rust or ochre accent. Aim for worn, natural tones with occasional bright highlights to draw the eye.
Composition ideas
Layered strata: build horizontal layers representing soil, roots, and canopy using textured papers and fibers. Embed small seeds and seed pods in the lower layer for realism.
Central sprout: create a focal plant silhouette rising from a darker base; surround it with a collage of label fragments, pressed leaves, and small metal tags.
Wild tangle: compose overlapping stems and leaves in an energetic, diagonal composition. Allow bits of ephemera and tiny objects to peek through gaps.
Botanical map: arrange pressed specimens like specimens in a cabinet, each on its own small paper mat with handwritten notes, pinned or glued down.
Night tray: dark ground, silver ink highlights, iridescent paint on leaf edges for an otherworldly look.
Step-by-step
Prepare tray: sand and prime if wooden; clean metal. If you want to hang the tray, attach hanging hardware now.
Ground layer: apply gesso or a thin coat of paint as a base. Add texture with sand, modeling paste, or torn paper glued in place.
Background collage: glue down larger paper pieces — book pages, tissue, map fragments — to form the background. Vary orientation and allow edges to show.
Build mid-layers: add smaller papers, fibers, and flat plant materials. Use gel medium for stronger adhesion, brushing medium both under and over delicate materials.
Arrange focal elements: position pressed plants, small objects, and metal findings last. Use tweezers for precision. Consider partial overlap and layering to create depth.
Integrate with paint/ink: glaze thin washes to unify colors, add line work with ink, or dry-brush highlights on edges. Scrape back areas with a palette knife for distressed texture.
Seal: when dry, apply a thin coat of matte varnish to protect paper and plant matter. For durability and a gloss finish, consider a clear epoxy resin — use in a well-ventilated area with appropriate PPE.
Final touches: add small sewn stitches, pinned tags, or handwritten labels to personalize and add narrative.
Techniques and tips
Press fresh plant materials for several days to a week between paper and heavy books for best results. Thicker stems may need silica gel or a plant press.
Test adhesives on scrap materials. Some dried botanicals can darken or become translucent with heavy wet adhesives.
Use color consistency to tie disparate pieces together: a unifying glaze of diluted paint can harmonize varied ephemera.
Balance fragility and permanence: tuck fragile plants under a layer of clear medium or place them in shallow recesses so they don’t protrude and break.
Embrace imperfections: curling edges, tiny tears, and faded printing add to the lived-in quality.
Presentation options
Leave raw and tactile for a tabletop display under soft light.
Mount a shallow hook and hang the tray as wall relief.
Make a series of small trays (6"–8") exploring different weed species or seasons and group them as a grid.
Photograph the finished tray for archival prints or to create a limited-edition art card.
Project variations
Minimalist: one pressed specimen on a painted monochrome ground with a single handwritten label.
Scientific: grid layout, measurements, and typewritten notes on each specimen, like a field study.
Narrative: incorporate found letters